

Here's a breakdown of the gifts we're giving!
1. Infinity Scarf/Nursing Cover
I saw something like this on Etsy and thought, "I can make that!!!" So I did. Totally simple, totally clever. No more lugging around an obvious nursing cover, or needing to dig through your diaper bag for it. Just wear it as a fashion accessory...

and unwind it (ta da!) to use it as a nursing cover. You can either be comletely covered...

or half covered. Your choice. Classy, chic, and discreet.

N.B. - Mirror selfies with a DSLR are really challenging. Holy Toledo. Took me soooo long to get these photos.
2. Sunny Days Blanket

I know the baby is a little girl, but that doesn't mean everything needs to be pink. I love bright colors and I know the new mama does, too! This blanket is a delicious yellow and aqua blue. Yummy, right?

I have these fabric tags that I accidentally bought from a scrapbooking sale, but they were perfect for these projects!
3. Sweet Blossoms Blanket
Not everything has to be pink, but a little pink is sweet. ;)


Just the blanket by itself makes me melt. Can you imagine how heart-stopping the cuteness will be when there's a precious baby inside it? I can't even handle it.
4. Reversible Car-seat Canopy
This is my pride and joy from this project. These things are a rather new trend: a piece of fabric to drape over the car-seat to protect the baby from the sun. Instead of just tossing a blanket over, which can slide off and makes carrying the seat a challenge, they have velcro loops (that I embellished with oh-so-cute bows) that attach to the handle. That way the baby can be protected and you can hold the handle safely.

Many car-seat canopies are one-sided. But why?? The baby has different outfits that the mama can choose between... why shouldn't the car-seat cover be accommodating as well? So I made it reversible.
One side is bold and beautiful: black, yellow, and grey floral.

The other side is a little sweeter. Coral pink and light brown.

Both are tied together by a bright blue trim that practically screams happy.

5. Dress #1
Size 0-3 months. So pretty.

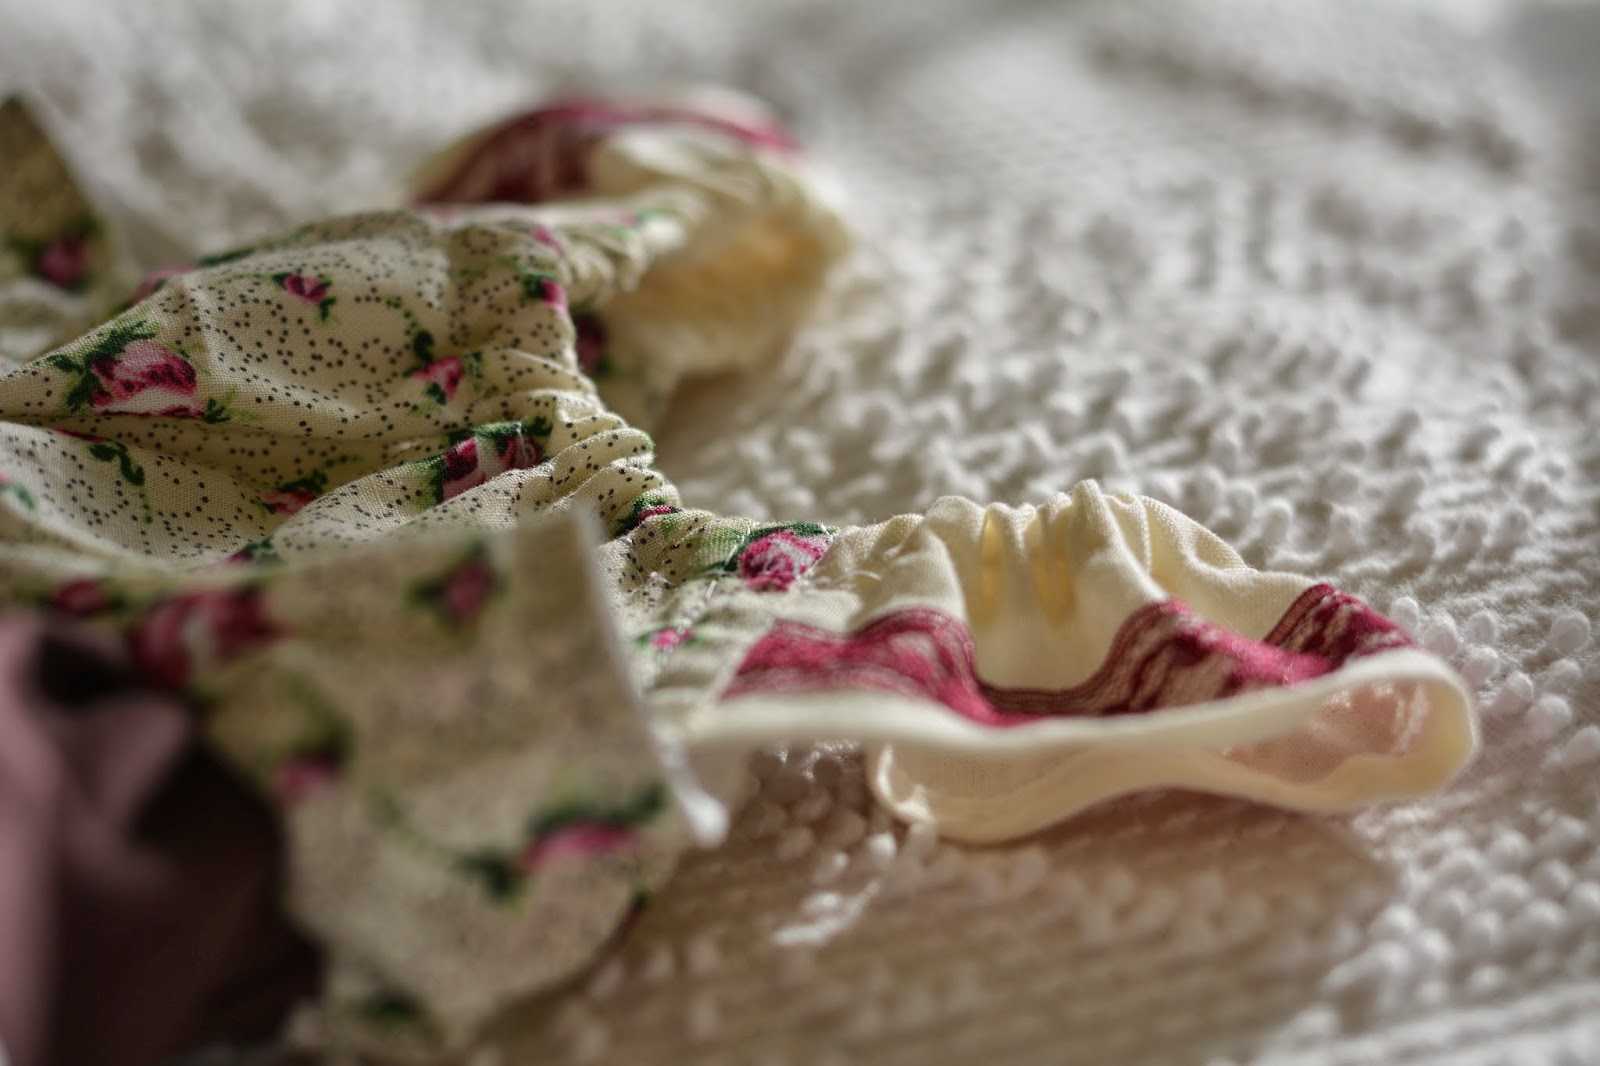
Size 0-3 months. Sunshine and happiness. Totally country. Totally channeling the new mama's spirit.


7. Dress #3
Size 3-6 months. It's pink. It has butterflies. Irrefutably precious.


8. Dress #4
Size 3-6 months. Not so girly, but I like that. Perfect for Indian Summer.


To package it, I wrapped every individual present in tissue paper, sealed them with washi tape, and numbered them using alpha stickers. Then I stacked them in the box, covered them with a sheet of tissue paper and affixed a "Gift Guide" card to the top, indicating which each numbered package contains. I impress myself sometimes.


